Many quizzes and surveys need to collect information about the user. This could include information such as:
- name
- city
- phone number
- business
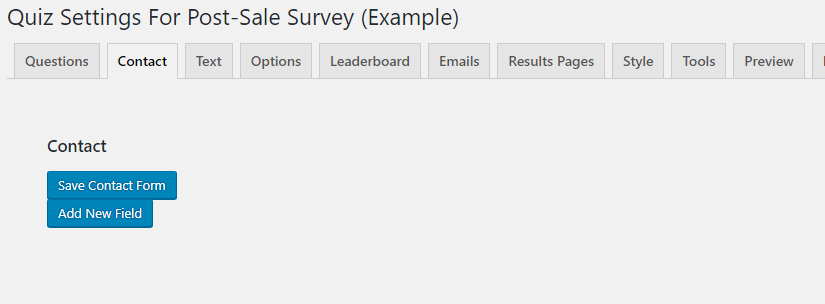
To add contact fields to your quiz or survey, edit your quiz/survey and go to the “Contact” tab.

When you load this tab for the first time, it will be completely empty. To add our first field, click the “Add New Field” button.

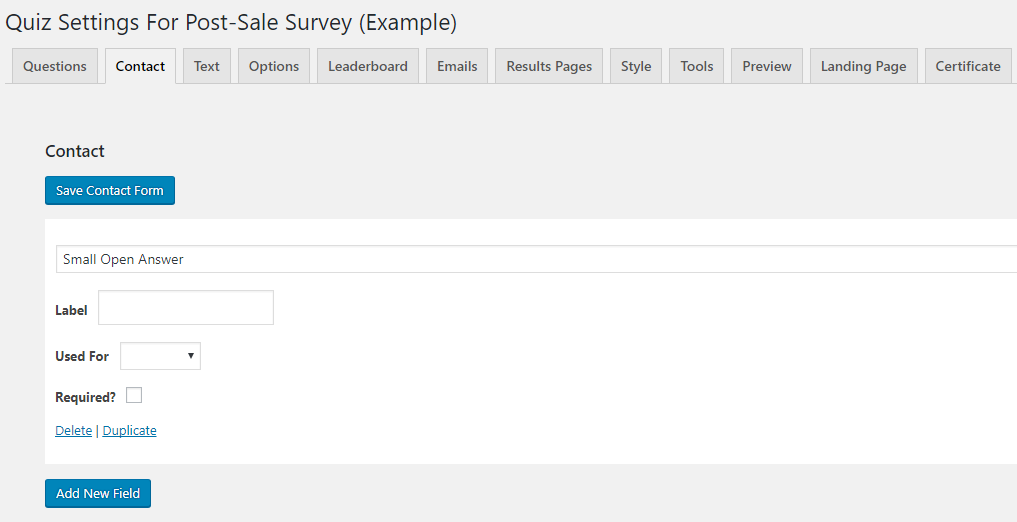
When you add a new field, you will see a new white box appear. Each field has a few settings.
The first setting is the type of field. You can choose:
- Small Open Answer – this is a text box for information such as name or business
- Email – this is a text box that checks to ensure the entered information is an email address
- Checkbox – this is a checkbox which can be used for making sure a user agrees to terms and conditions
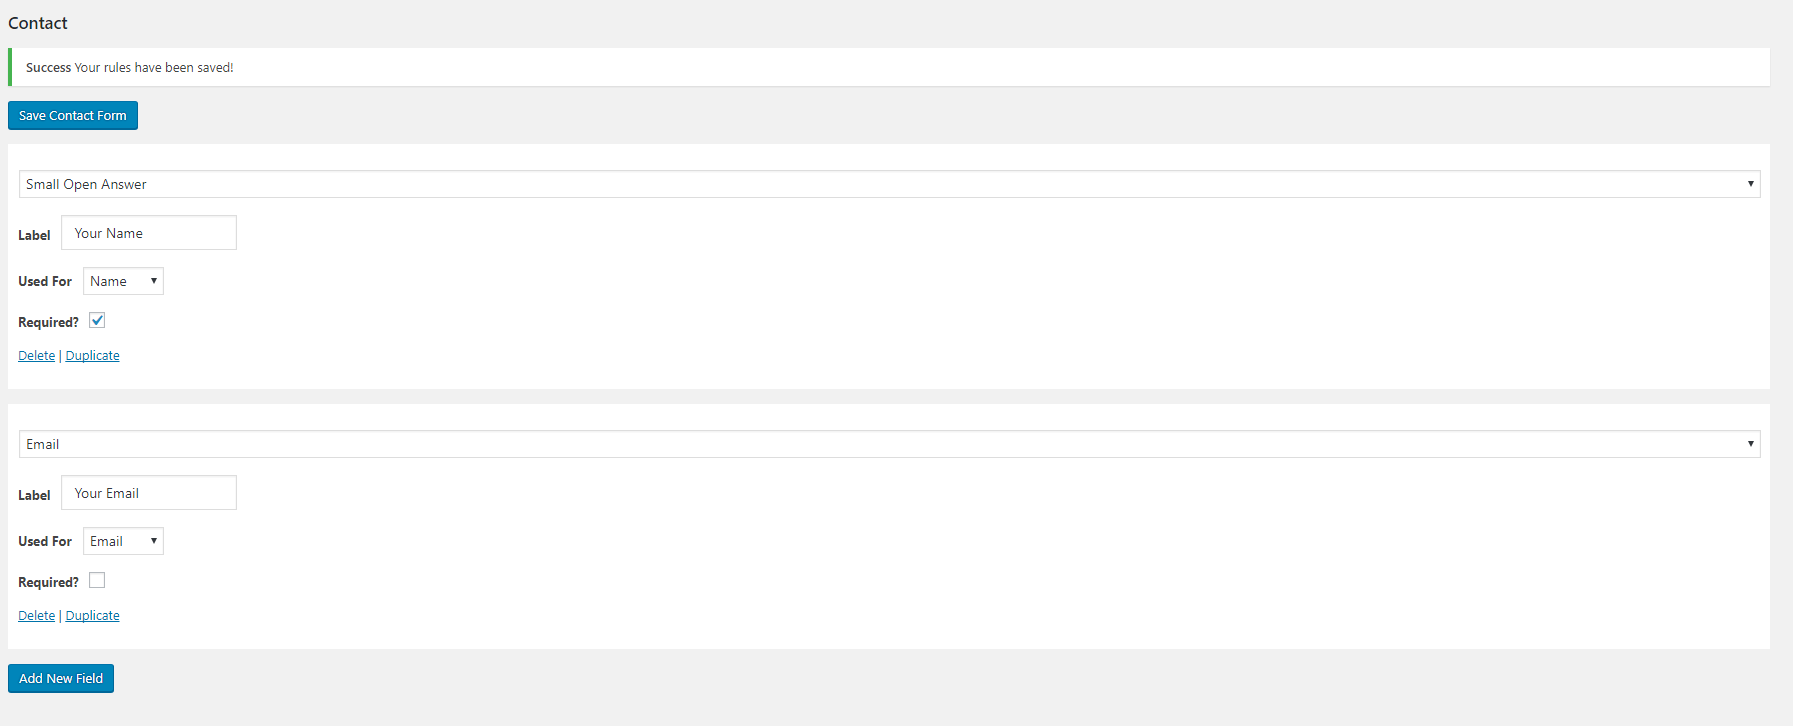
After selecting the type, you will fill in the “Label”. This will be the text that appears next to the field.
The next option is the “Used For” option. Throughout the plugin and its addons, there are many places that uses a quiz/survey takers name or email. You can set a field to be used for these places.
The last option is the “Required?” option. Checking this checkbox will force the user to fill in the field prior to submitting the quiz or survey.

After you have added all of the fields you want, be sure to click the “Save Contact Form” button at the top of the “Contact” tab.
To delete a field, click the “Delete” link at the bottom of the field.
To duplicate a field, click the “Duplicate” link at the bottom of the field.


